Seed Step by Step
Follow these steps to seed starting success! Don’t forget to come visit us!
Step 1: Choose Your Seeds
Take your time and choose the best varieties for the location in your garden. Pay attention to the height, width, sun and water requirements to make sure they match up to your space.
Step 2: Review Planting Instructions
Seed packaging can answer a lot of questions such as when the plant grows best, proper spacing when sown directly in the garden and whether or not to sow indoors. Your needs may require adjustments to the recommendations but you have a starting point. For best results, ask us to help you! That’s why we are here!
Step 3: Soak the Seeds Overnight
Whether you are sowing indoors or directly into the garden, pre-soaking the seeds can shorten the germination period by several days. This process works for all but the tiniest seeds. Simply place the seeds in a small bowl and cover them with warm water. Allow them to soak for 12-24 hours. Drain the water and blot the seeds on a towel just prior to sowing.
Step 4: Sowing Seeds Indoors
Sowing seeds indoors offers the most precision. There is little wasted seed because almost no thinning is required. Normally, the controlled indoor conditions allow the seeds to sprout faster than they would outdoors. Indoor seed starting also allows crops to have a head start on the growing season. The down side is that finding enough indoor space for seed starting may be a challenge. You can always grab an empty tray from us and then transplant your seeds in the garden when they have spouted.
Step 5: Prepare the Soil
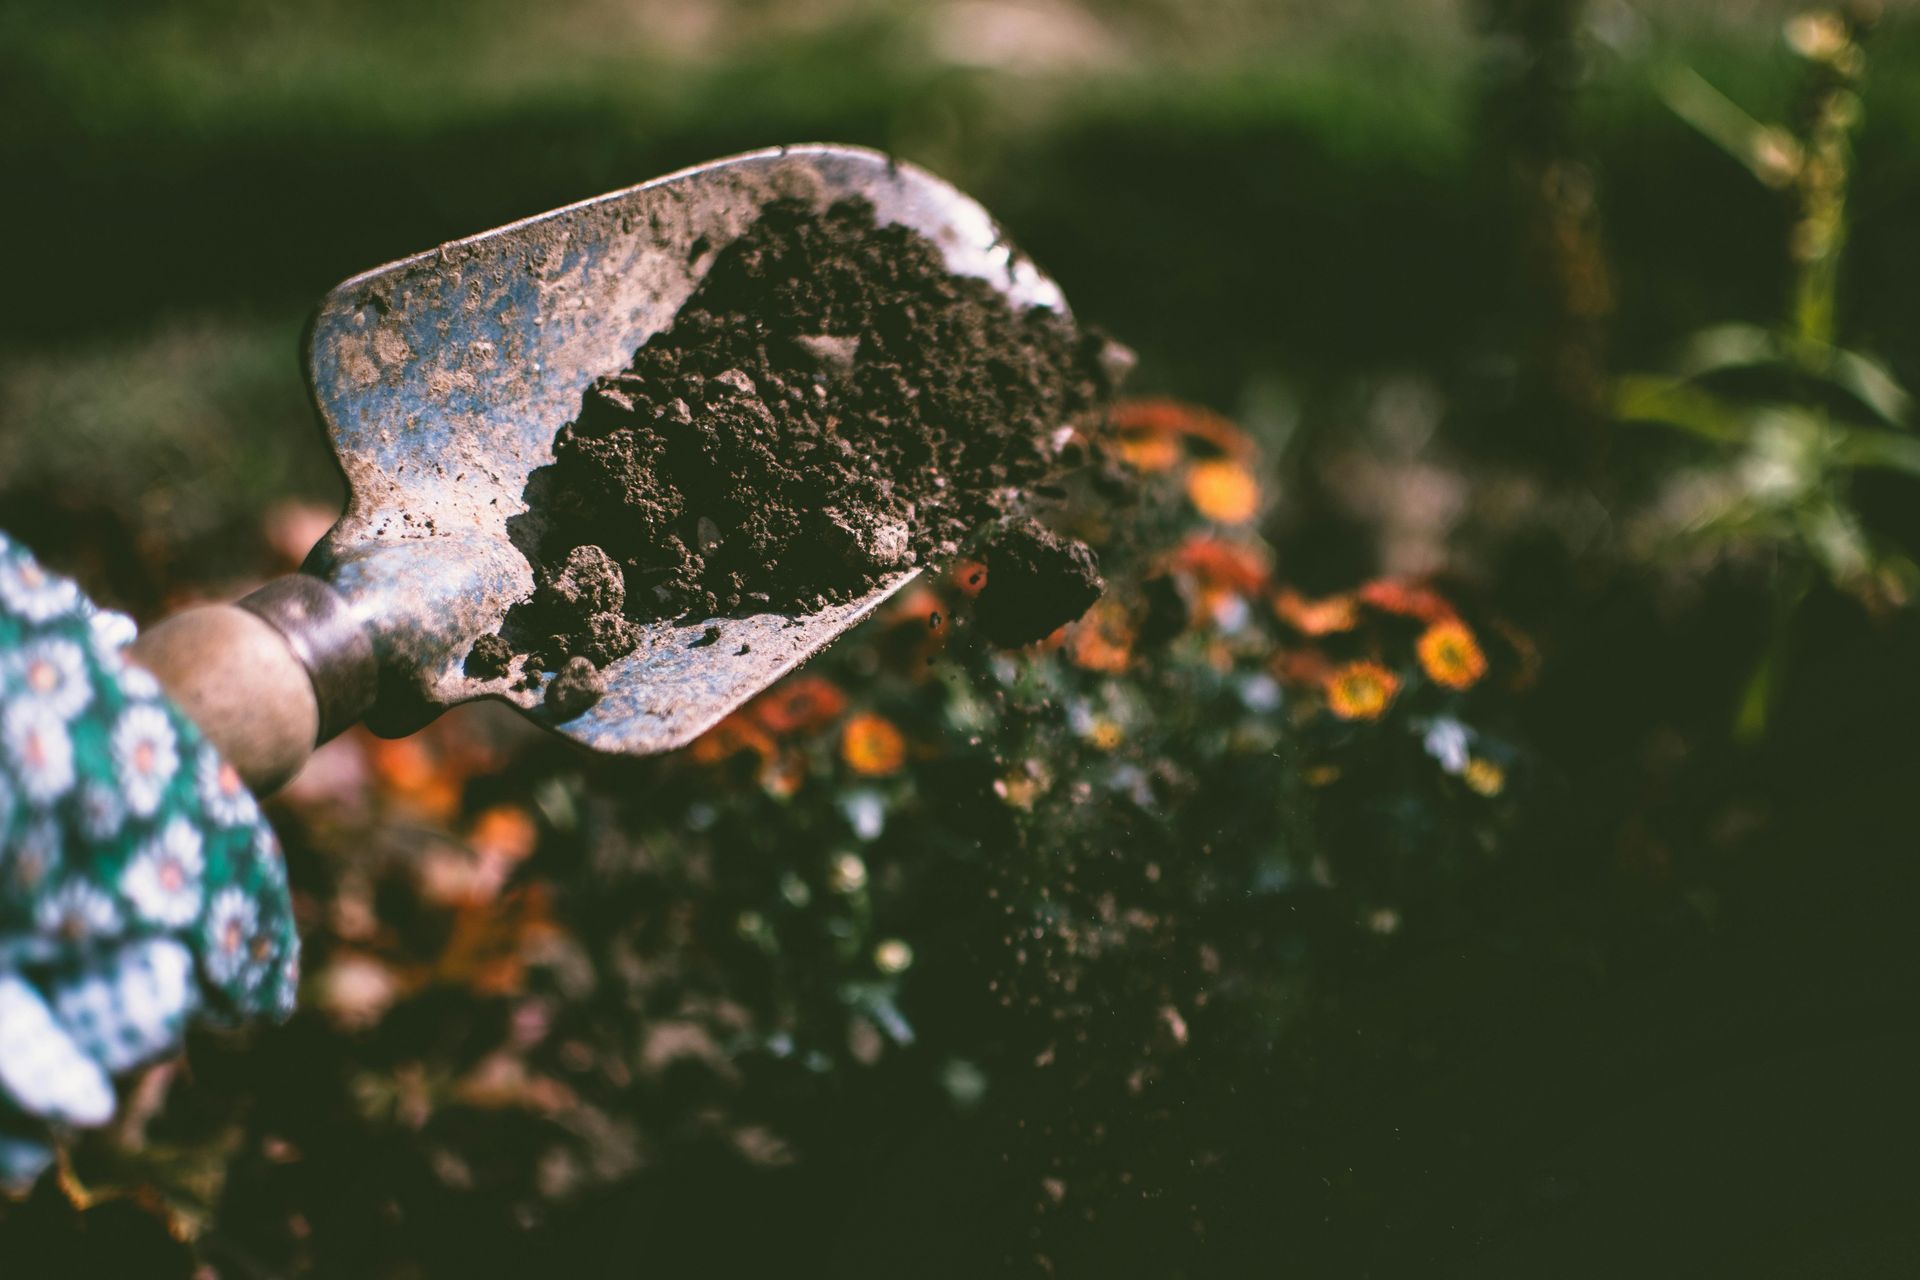
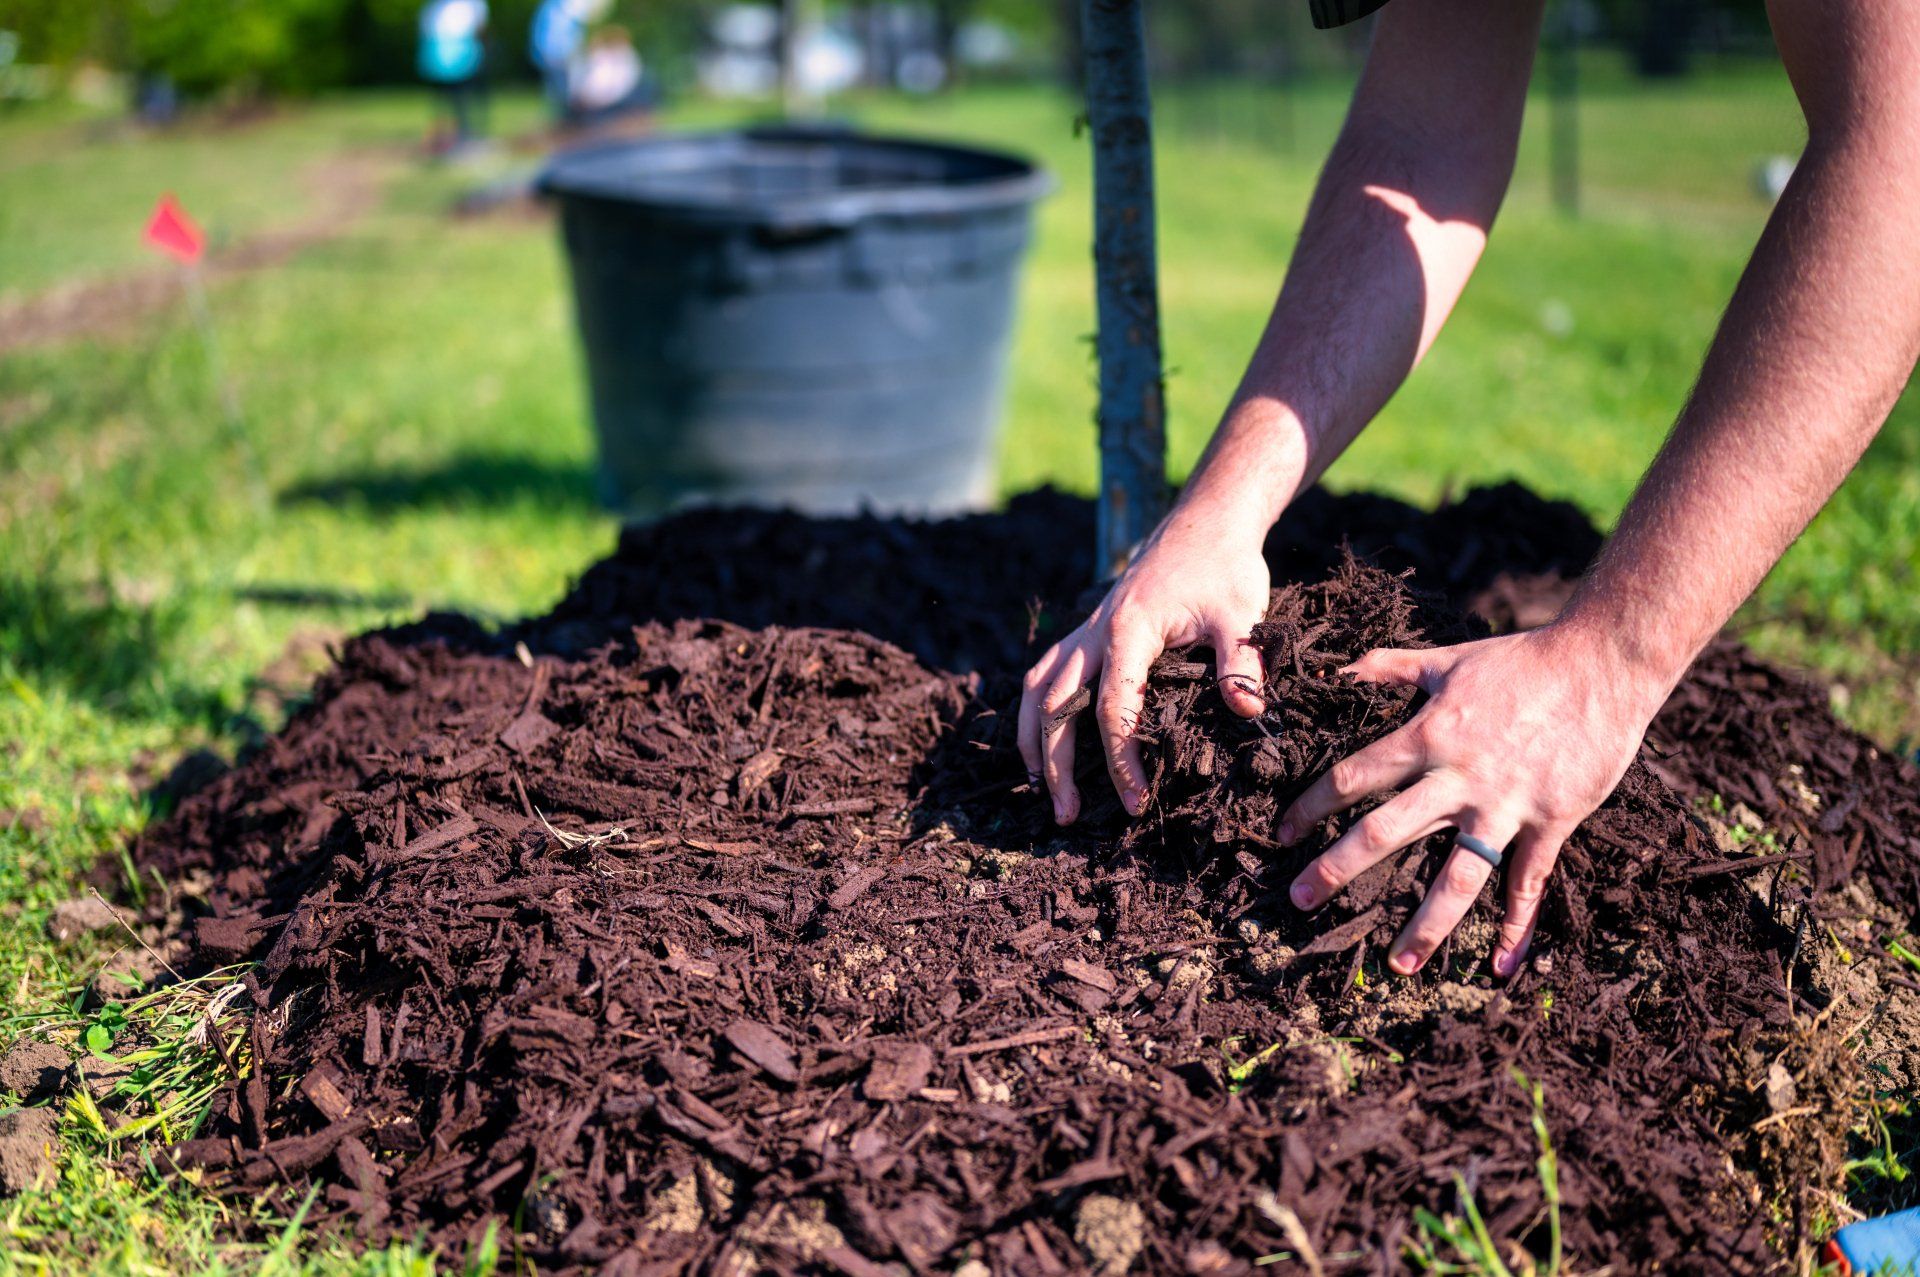
Seed starting soil must be fine textured, moisture retentive and well drained. For indoor seed starting, pre-made mixes work well. Outdoor container mixes generally work well. Garden beds should be well amended with compost, and tilled and raked smooth with no rocks.
Indoor Sowing Options
If you choose to sow seeds indoors, you have several mediums to choose from. Cell packs are the most widely used: simply fill the cells with starting mix and you're ready to sow seeds. Another option are compressed peat moss pellets. These pellets expand to about four times their dry size when soaked in water, then they are ready to sow. Soil blocks are gaining popularity because they allow the seedlings to develop greater root mass before planting compared to round shaped vessels, thus reducing transplant shock.
Outdoor Sowing
Whether in a container or in the ground, you should follow the spacing recommended on the seed pack. One adjustment that can be made for containers is to convert the recommended spacing to figure how many square inches each plant requires. For instance If the seed pack states that the seeds must be spaced one inch apart in rows that are twelve inches apart, then you would multiply 1 X 12. So you would sow 1 seed per twelve square inches of surface area.
Step 6: Sow the Seeds
Use two seeds per cell when you start plants indoors. Most of the time both will germinate, but there are times when only one of the seeds sprouts, then no time or space is lost.
Potting Up May Be Necessary
Some plants that are kept indoors for a long period, such as tomatoes or peppers, may require larger containers than cell packs or peat pellets provide. This can be accomplished by starting them in larger pots from the start, or by starting them in the smaller sizes and moving them into larger pots when they require it.
Watering
Watering new seedlings is a delicate matter. Keep seeds covered with plastic until they germinate, during which time watering may be unnecessary. When the seedling first emerges, misting is a good practice initially because it provides water where the tiny roots can get to it. As the seedling develops, bottom watering (placing the seedling tray into a deeper container with water, and allowing the water to "wick" up through the soil) becomes the most effective way to ensure that deep watering is accomplished.
Step 7: Hardening Off the Seedlings
Prior to planting seedlings outdoors, they must be acclimated to outdoor conditions. This process, called "hardening off," is a slow introduction that takes up to a week or more. Begin by leaving the seedlings outdoors on a mild day, in a shady area, for an hour or so. In the following days, gradually increase sun exposure and duration. The amount of time it takes is determined by the degree of difference between indoor and outdoor conditions.
Baby Your New Seedlings
Once the plants are hardened off, they are ready to plant. Take care, however, to protect them from sudden cold and hot or windy conditions until they are well established.
Enjoy Your Harvest
Because of the many opportunities to personalize and customize that seed starting affords, growing your garden from seed makes the harvest that much more enjoyable.

